Creating a workflow template
In brief
Workflow templates provide the foundation for workflows. They consist of a series of tasks and actions chained together. Templates can be made once then reused indefinitely, allowing you to create new workflows with different recipients using the same base template.
Required permissions
Create new workflow template
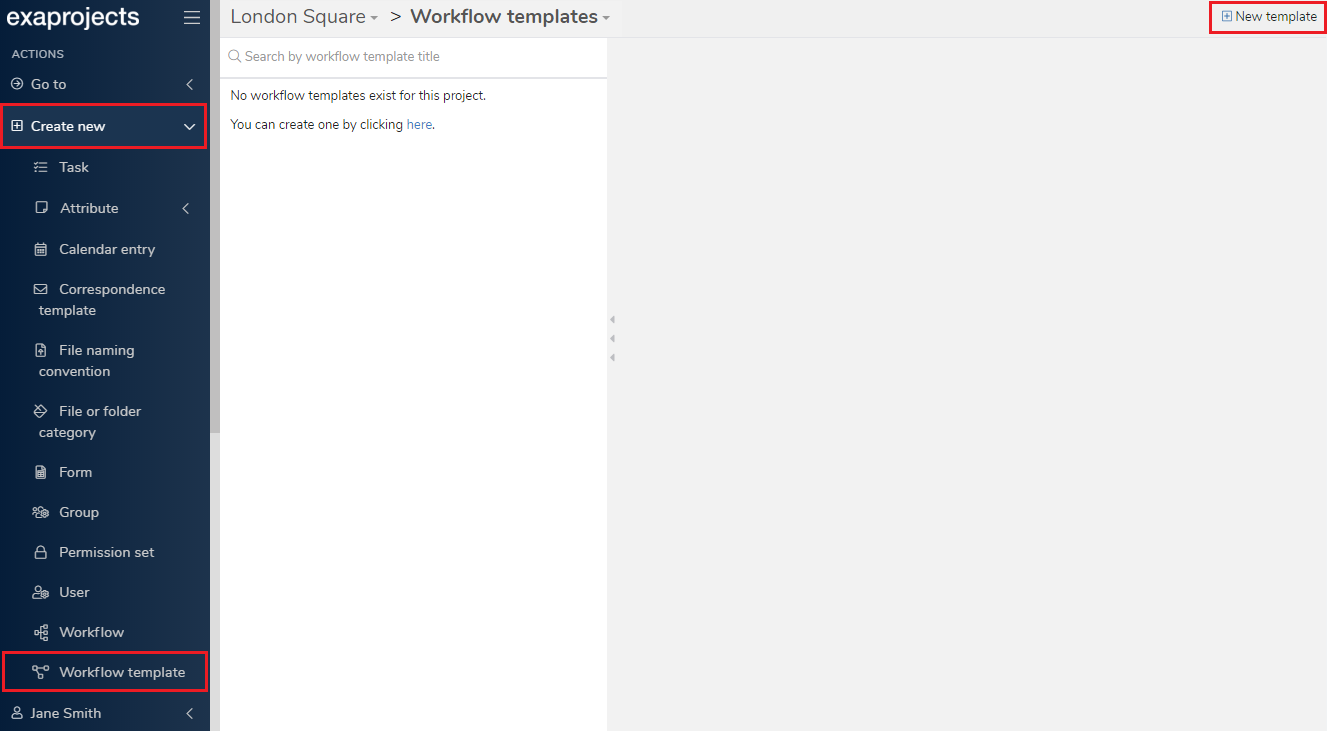
To access the Create Workflow Template page, either:
- Click the ‘Create new’ button in the left hand side menu
- Click ‘Workflow template’
Or:
- Whilst on the Workflow templates page within your project, click ‘New template’.
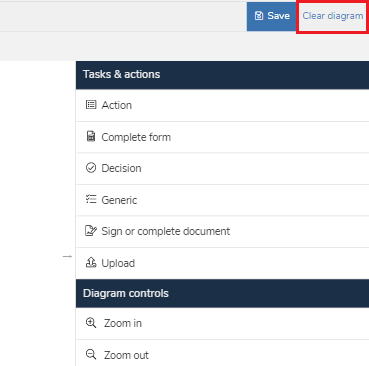
Once on the page, you'll see a default workflow template has been loaded. The default template can be cleared to allow you to build your own template. To do so, click on the 'Clear diagram' link in the top right of the page then click 'Yes' to the subsequent prompt.
You'll now have an empty canvas with the workflow template start and end nodes. To the right, you'll notice the 'Tasks and actions' toolbar, which allows you to build your template through chaining tasks and actions together. Unlike tasks, actions are specific to workflows and enable you to update a file's properties as it traverses a workflow. They are completely automated and require no input from you or any other user.
For the purpose of this tutorial, we are going to create a template that will allow you to:
- Request a file from a user (Upload task)
- Make a decision on whether the file is suitable or not and, if it isn't, re-request it (Decision task)
- If it is suitable, watermark and lock it (Action)
To achieve this, you'll need to click, hold, drag and then drop the task or action node from the 'Tasks and actions' section on the right onto the canvas on the left. When you drop the node, you'll be prompted to give it a title. You'll want to keep titles short and snappy so that they're easily visible on the node.
Following the same approach, you can then add the Decision task node and the Action node.
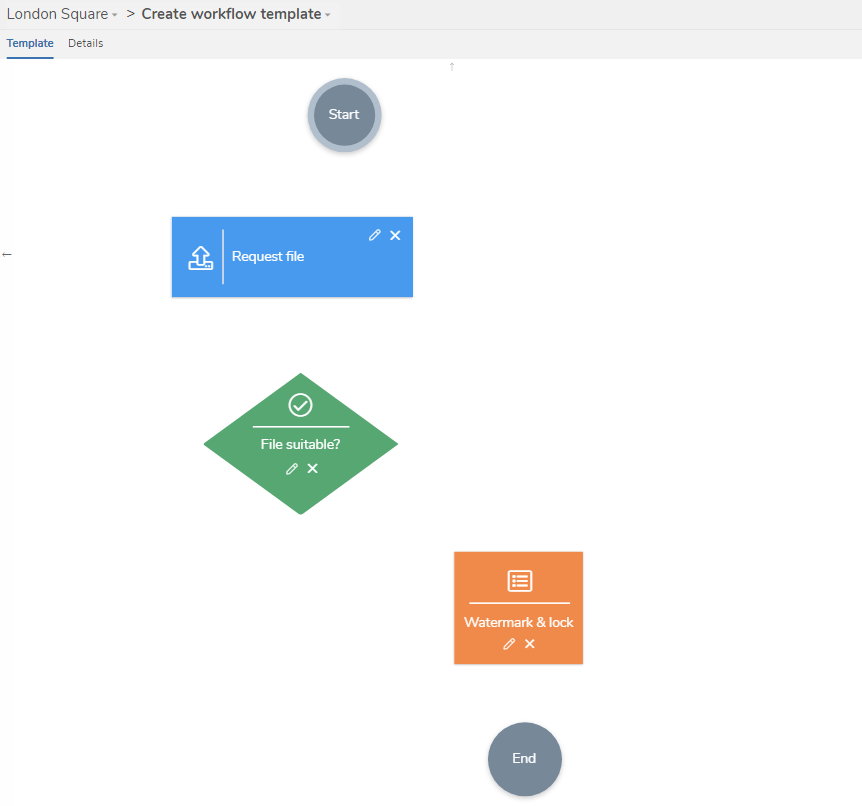
Note that you can move nodes around the canvas by clicking and dragging them. You can also delete and edit node titles by using the 'pencil' and 'cross' icons, or right clicking a node and using the menu.
Now all your nodes are added, the next step is to connect them up. The direction of the arrows will govern the direction files will flow through the workflow. You can do this by hovering over the edge of a node, then click and dragging out from it towards another node. Connections can be deleted by double clicking then.
You'll notice that, when adding connections from the Decision task node, you'll be prompted to Edit decision. This is an important step as the text you provide will be used as the decisions provided to the assignee when they complete the decision task.

To clarify that a bit more, in the workflow template below, the assignee of the 'File suitable' Decision task will be presented with two options: 'File suitable' and 'File unsuitable'. Which option they choose then determines which direction the workflow will progress in.
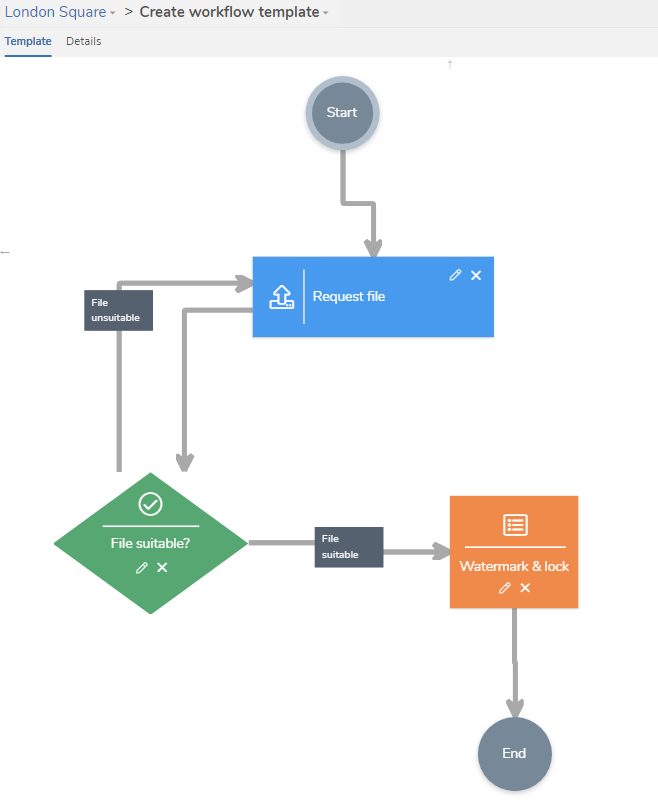
In the above example, if the Decision task assignee selects 'File suitable', the workflow will progress to the Action 'Watermark & lock' and then to the workflow end. On the other hand, if they were to select 'File unsuitable', the workflow would automatically loop back round to the Upload task 'Request file' where the original user would need to upload a new (hopefully suitable!) file.
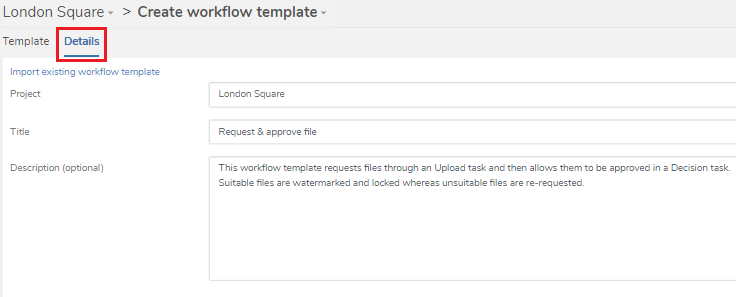
Once you're happy with your workflow template, click on the 'Details' tab. In this section, you will need to give the template a name and (optionally) a description.
Finally, when everything has been completed, hit the 'Save' button in the top right to save your new workflow template.
Good to know
Now you've made your workflow template, you can go on and create a workflow. In future, if you need to make a new template that is similar to a previous one you've made, you may want to look at importing a workflow template.